This post contains affiliate links. I may receive compensation if you shop via this post.
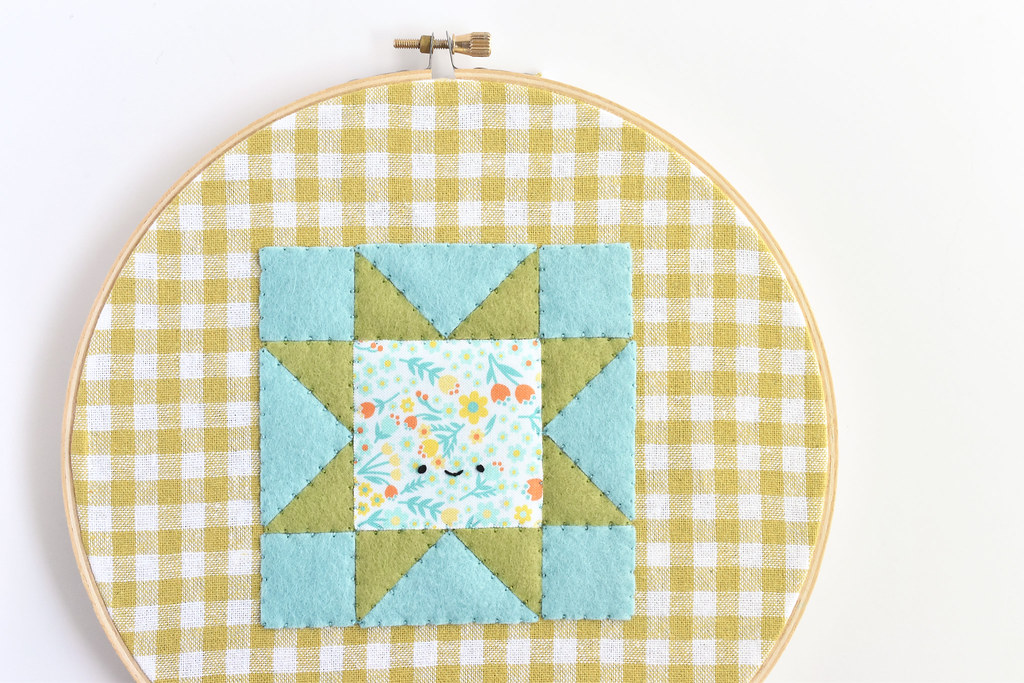
Calling all fan of quilts and quilty things, even if you aren't a quilter. Today I'm showing you how to make a quilt block out of felt and fabric and then hang it up in an embroidery hoop for your wall. It's such a cute way to bring your love of this craft to your decor.
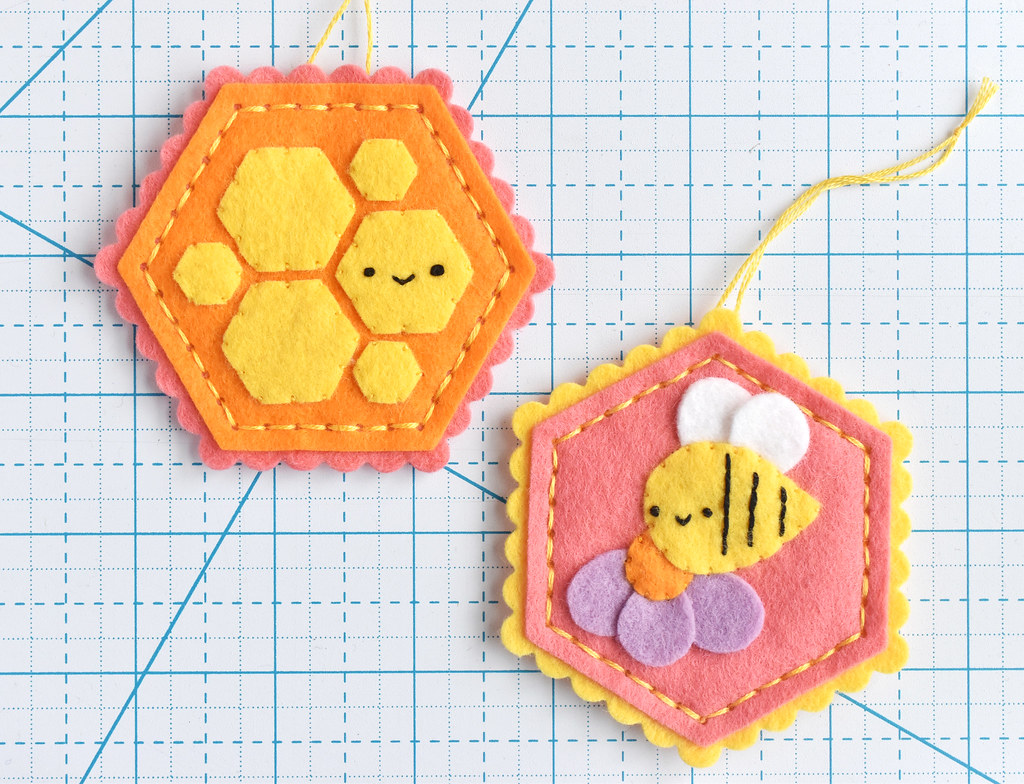
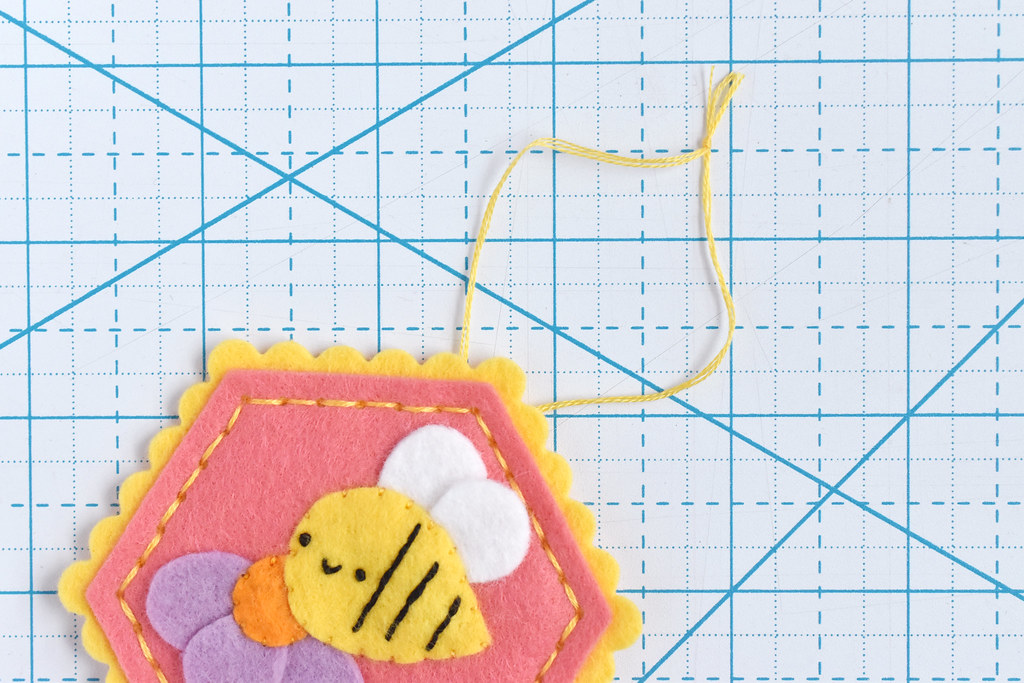
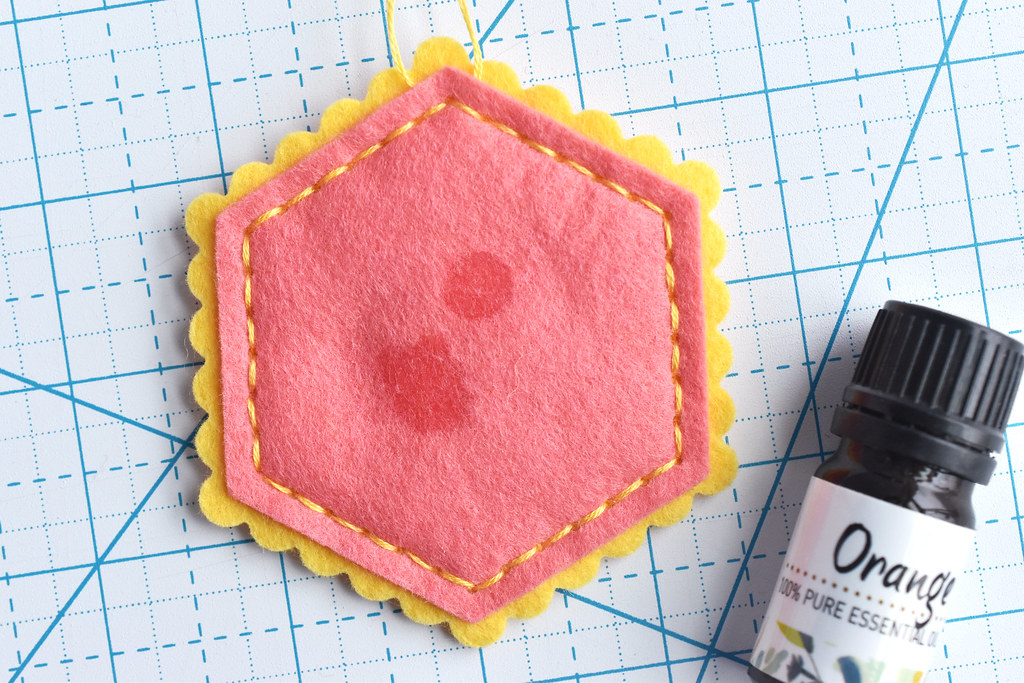
This project starts with inspiration from the felt quilt block ornaments I made last year, which then led to deep-etch dies from Benzie. But also this week I released two new sewing themed patterns: Sew Cute (a sewing machine embroidery pattern) and Sewing Bee (hexagon shaped ornaments with sewing tools). Quilt block hoop art feels like it rounds out the collection.

Because this is entirely sewn by hand, it's a portable project. And unlike making an actual quilt, you don't have any seam allowances to fuss over. Just fit the pieces together!
One thing that makes this different from my felt ornaments (besides the size) is that I've added some print fabric in there. You don't have to do this for the center piece. Make it all felt if you'd like. OR add the fabric to all the pieces! You'll still need the felt to make applique easier and so there's no fraying. But it would be so cute this way!
Now, shall we jump in?
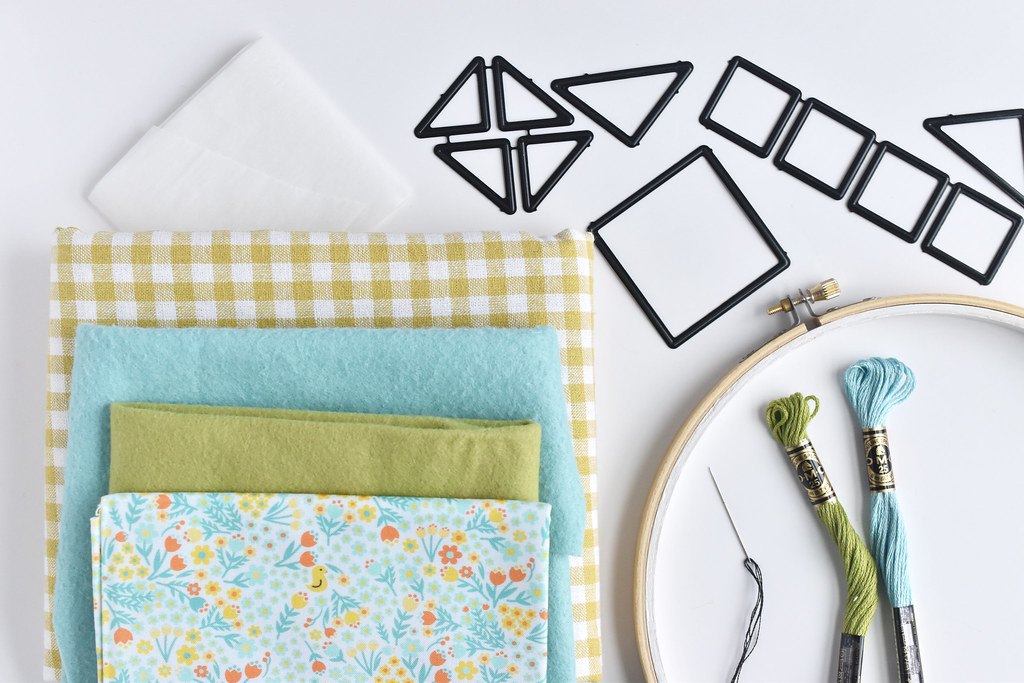
Here's what you need:
Wool or wool blend felt in several colors (I used Swan, Fern, and white from Benzie)
Jeanette's Cozy Quilt Block deep-etch dies and manual cutting machine (optional)
Fabric for the backing (I used Essex Yarn Dyed Classic Wovens in Gingham Mustard)
Fabric for the quilt block (I used Quilt Town Missouri Star Small Floral)
Fusible web
Embroidery floss
Embroidery hoop
Iron
Needle
Scissors
The fabrics I used were courtesy of Missouri Star Quilt Co. You can save 20% on orders of $50 or more when you use my MSQC Partner link! Valid on most items through April 30, 2024 (and probably beyond!)

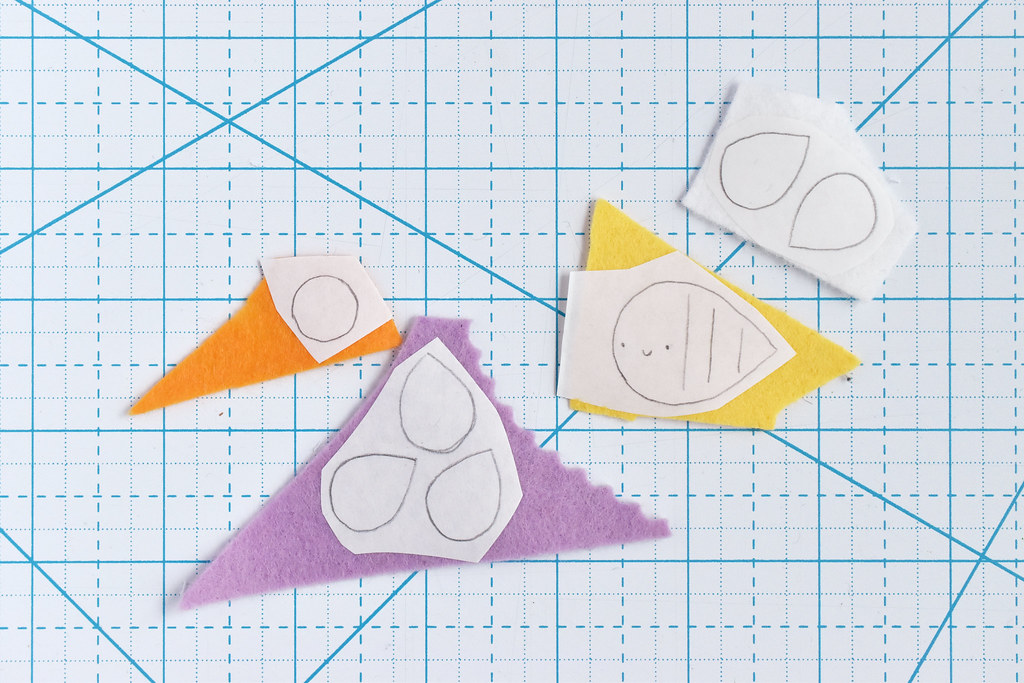
First, you're going to need to fuse the fabric to the felt. For the center, I used a piece that's a little larger than 2 inches square.
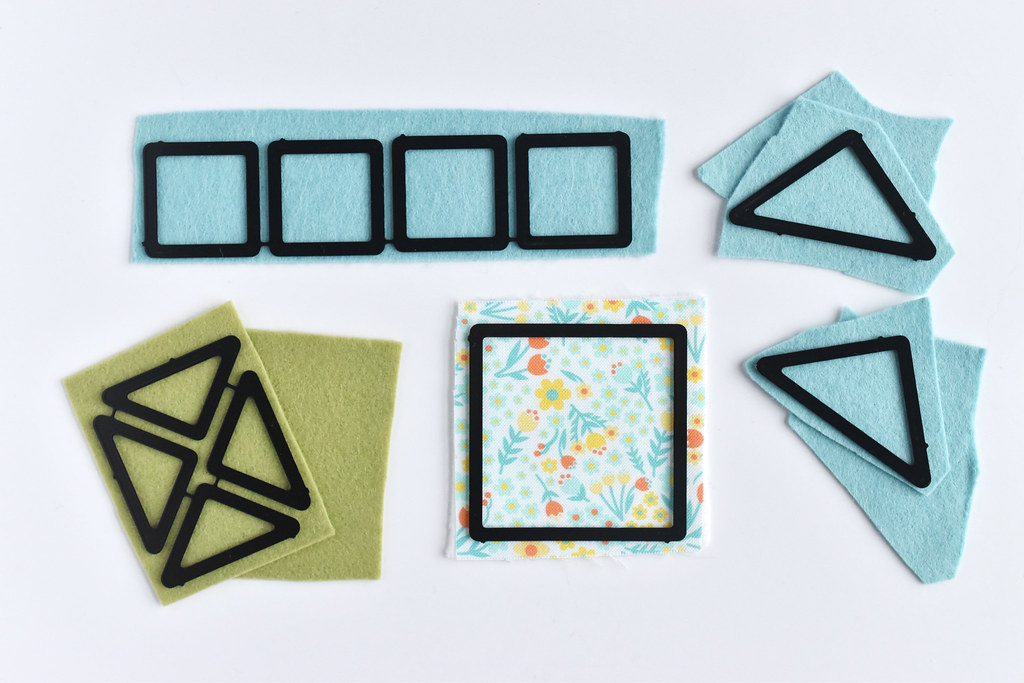
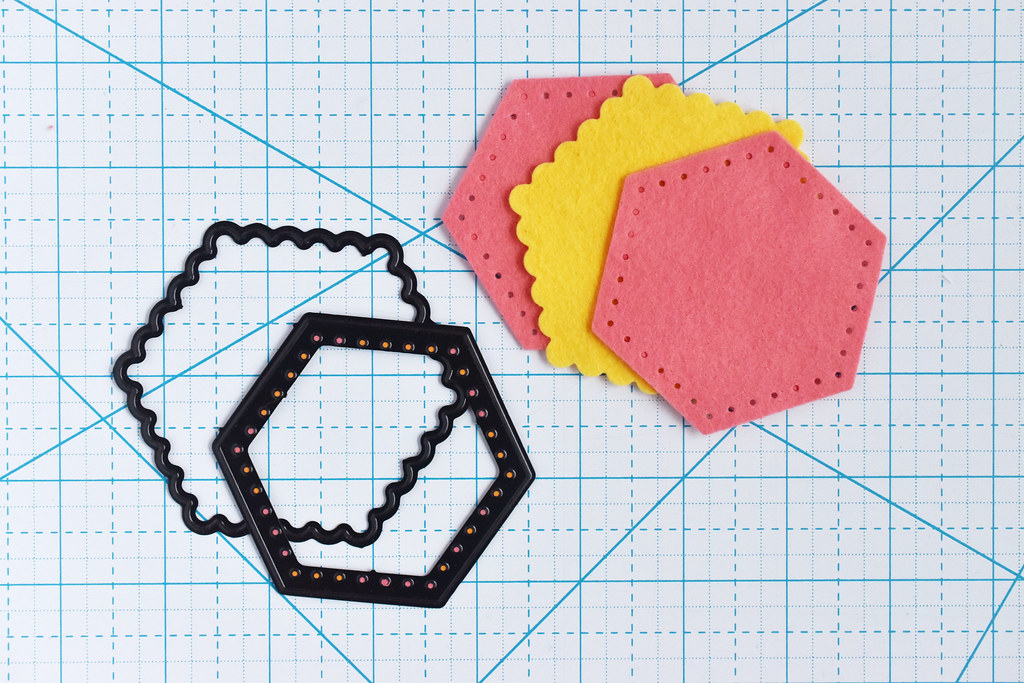
Next, cut out all the pieces.
I used the deep-etch die to make this fast and accurate. I needed to do two runs through my die cutter for the pieces where you see a second piece of felt. It was so great being able to cut the felt and fabric fused piece with the die cutter too. So easy!
If you don't want to use the dies, here's what you'll need to cut:
one 2x2 inch square
four 1x1 inch squares
four 1x1 inch squares cut into eight half-square triangles
two 1-2/5 inch squares cut into four half-square triangles

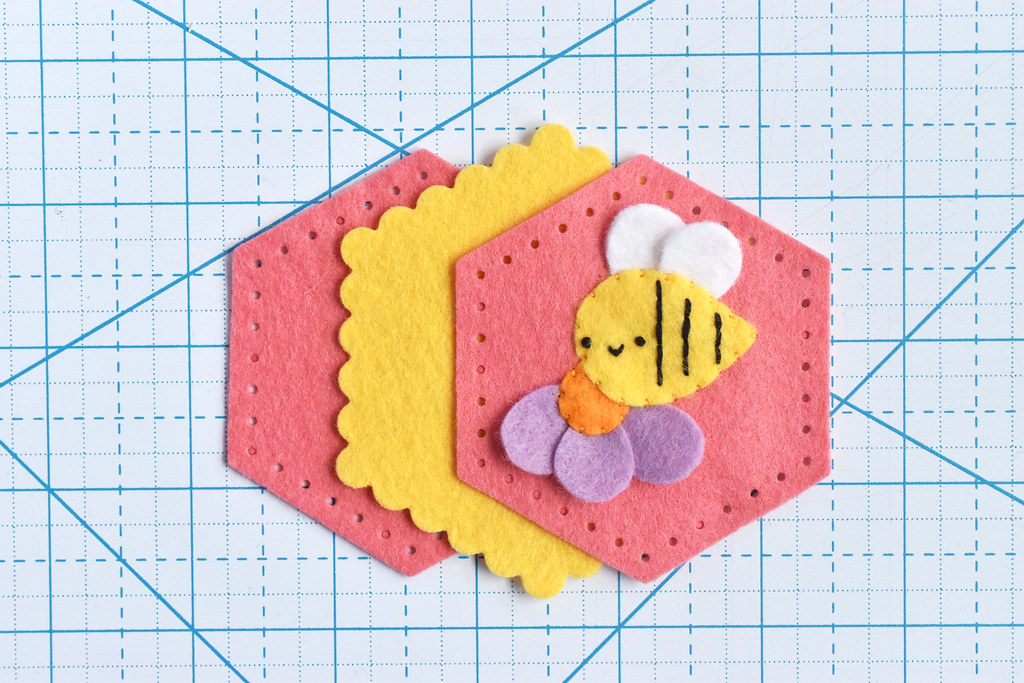
Arrange all the pieces to make sure they fit.

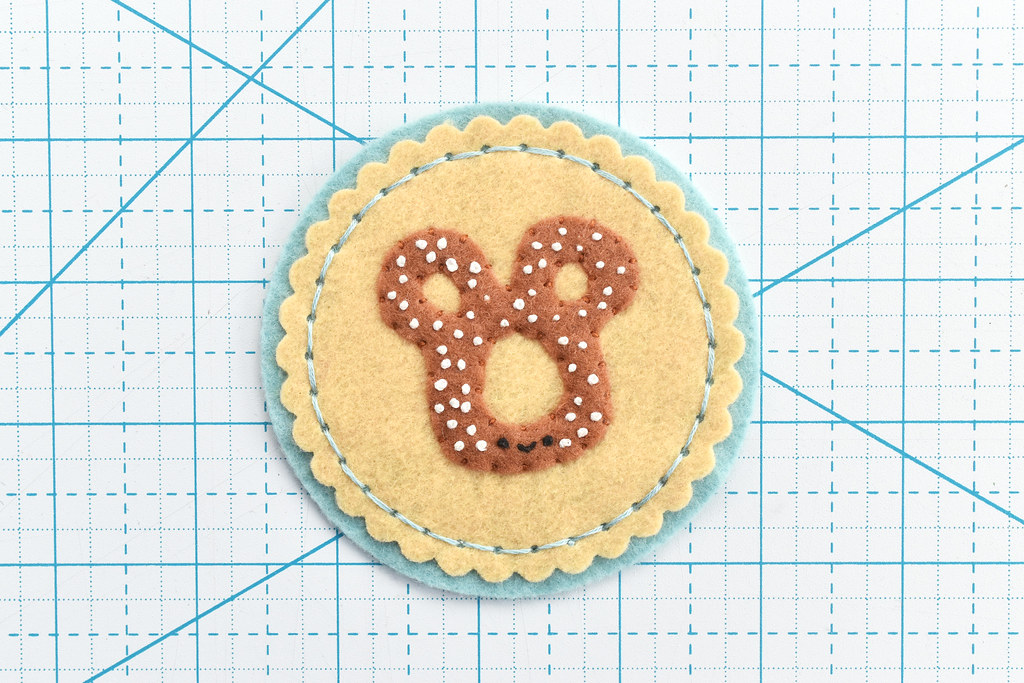
Embroider a face on the center square if you'd like. I just added my signature smile!
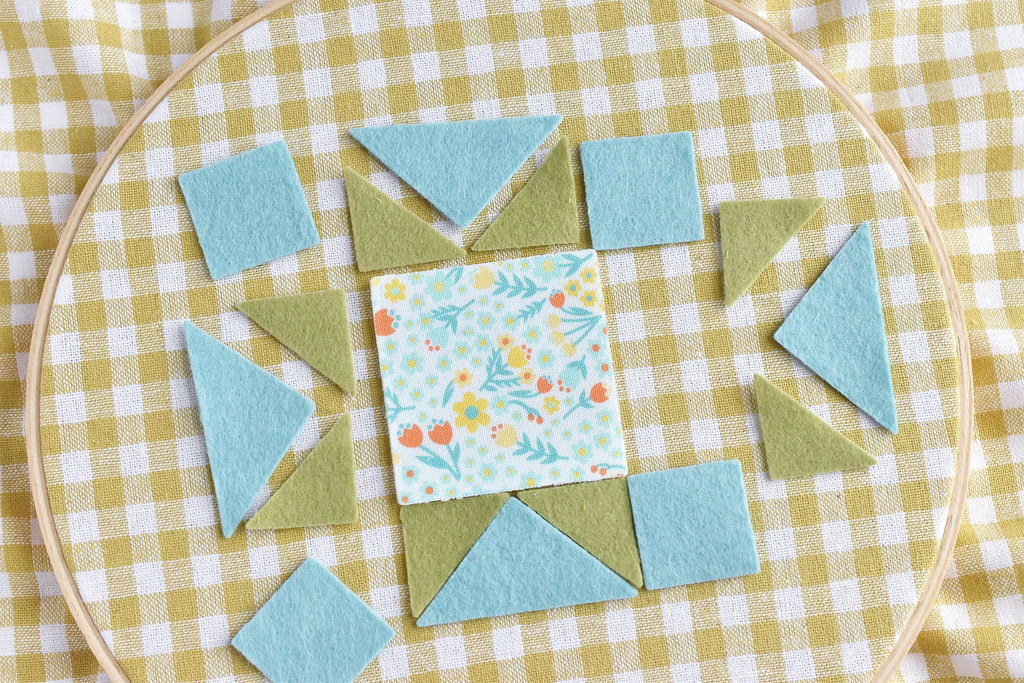
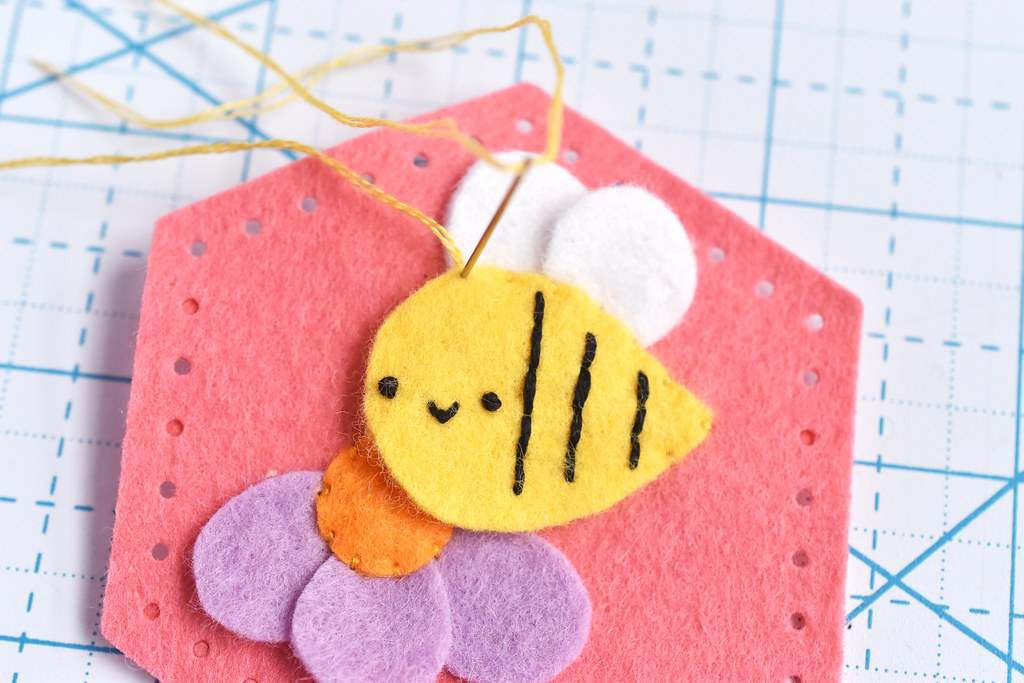
Next, place the backing fabric in an embroidery hoop and start placing the pieces where you want them. I used the gingham as a guide for placement and eventually for stitching.

Stitch each piece in place with two strands of embroidery floss and whip stitch. Come up through the backing fabric and down close to the edge of the felt pieces.
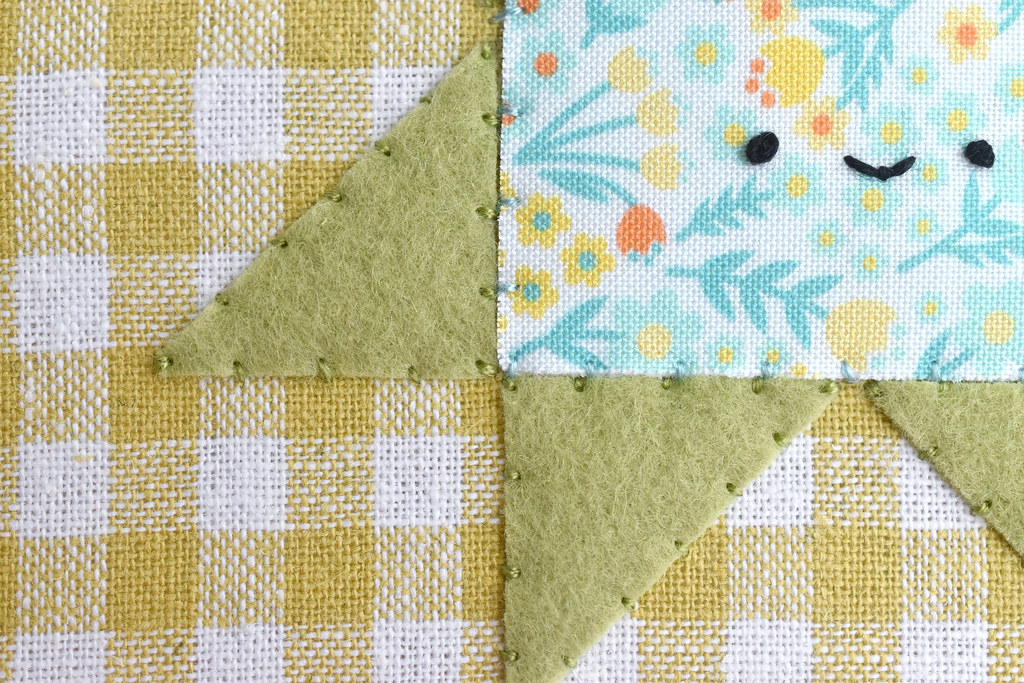
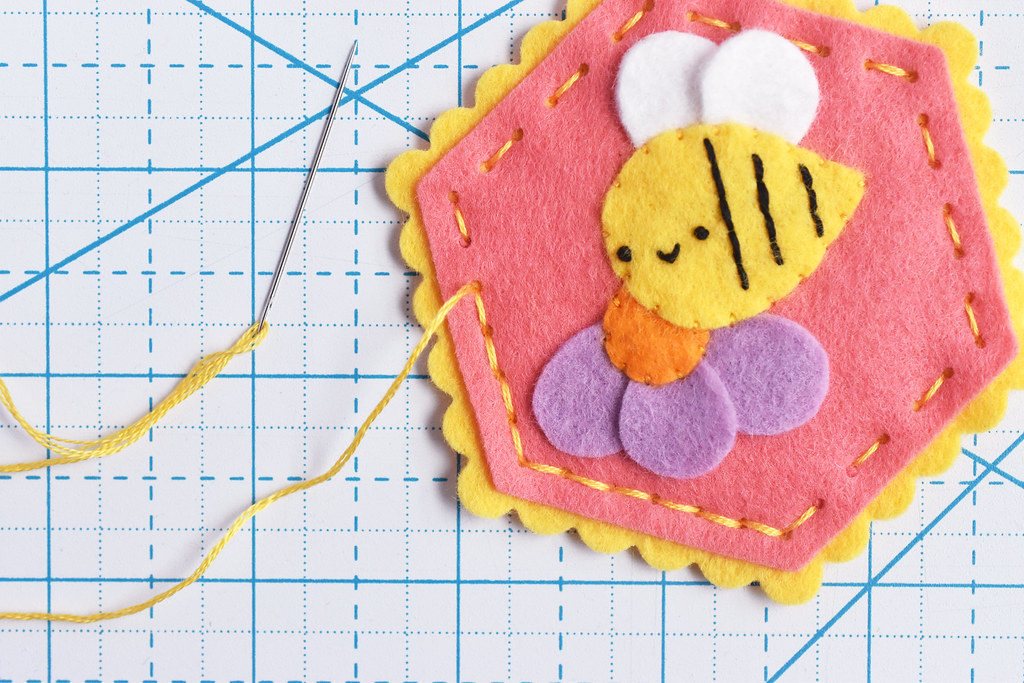
After you stitch the center square, add the small triangles. Align them to the corners of the center square. There will be a small gap where they meet on the side of the square, but that's okay.

Add the small squares and large triangles last. They should fit in the open spaces just right!

Now you can finish off the edges of the fabric and bring them to the back of the hoop. Or use this to make something else, like a pillow!

I love its happy little face and the texture that felt applique brings. You want to reach out and touch it!
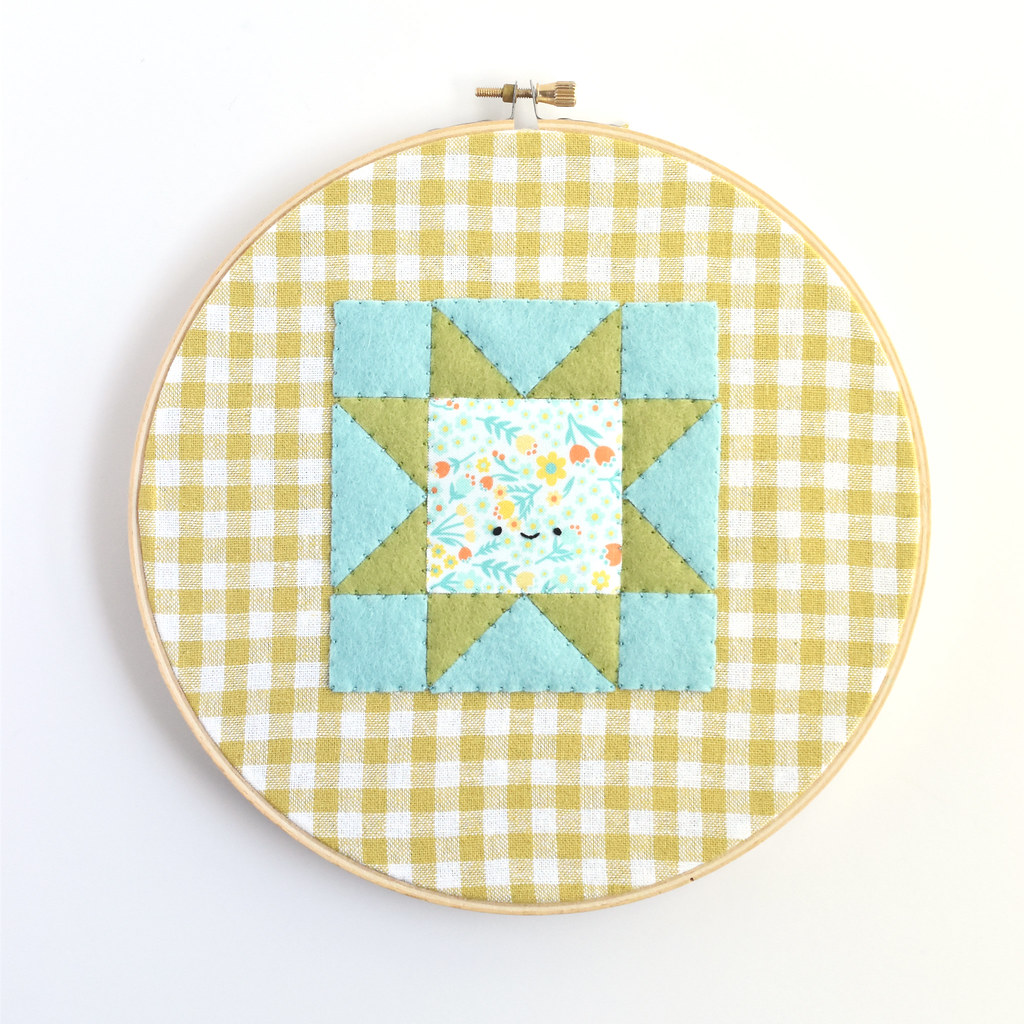

The colors and fabric combination I used for this are a little different than what I would usually do, but I happened to see them together and loved them. And that's another great thing about a small project like this. It's a perfect place to try out something you haven't before. If you like something more unusual, but don't want to commit to a whole quilt, make a mini one for your wall in a single evening!
Happy stitching!